1. Phone at a glance
■
Keys and parts
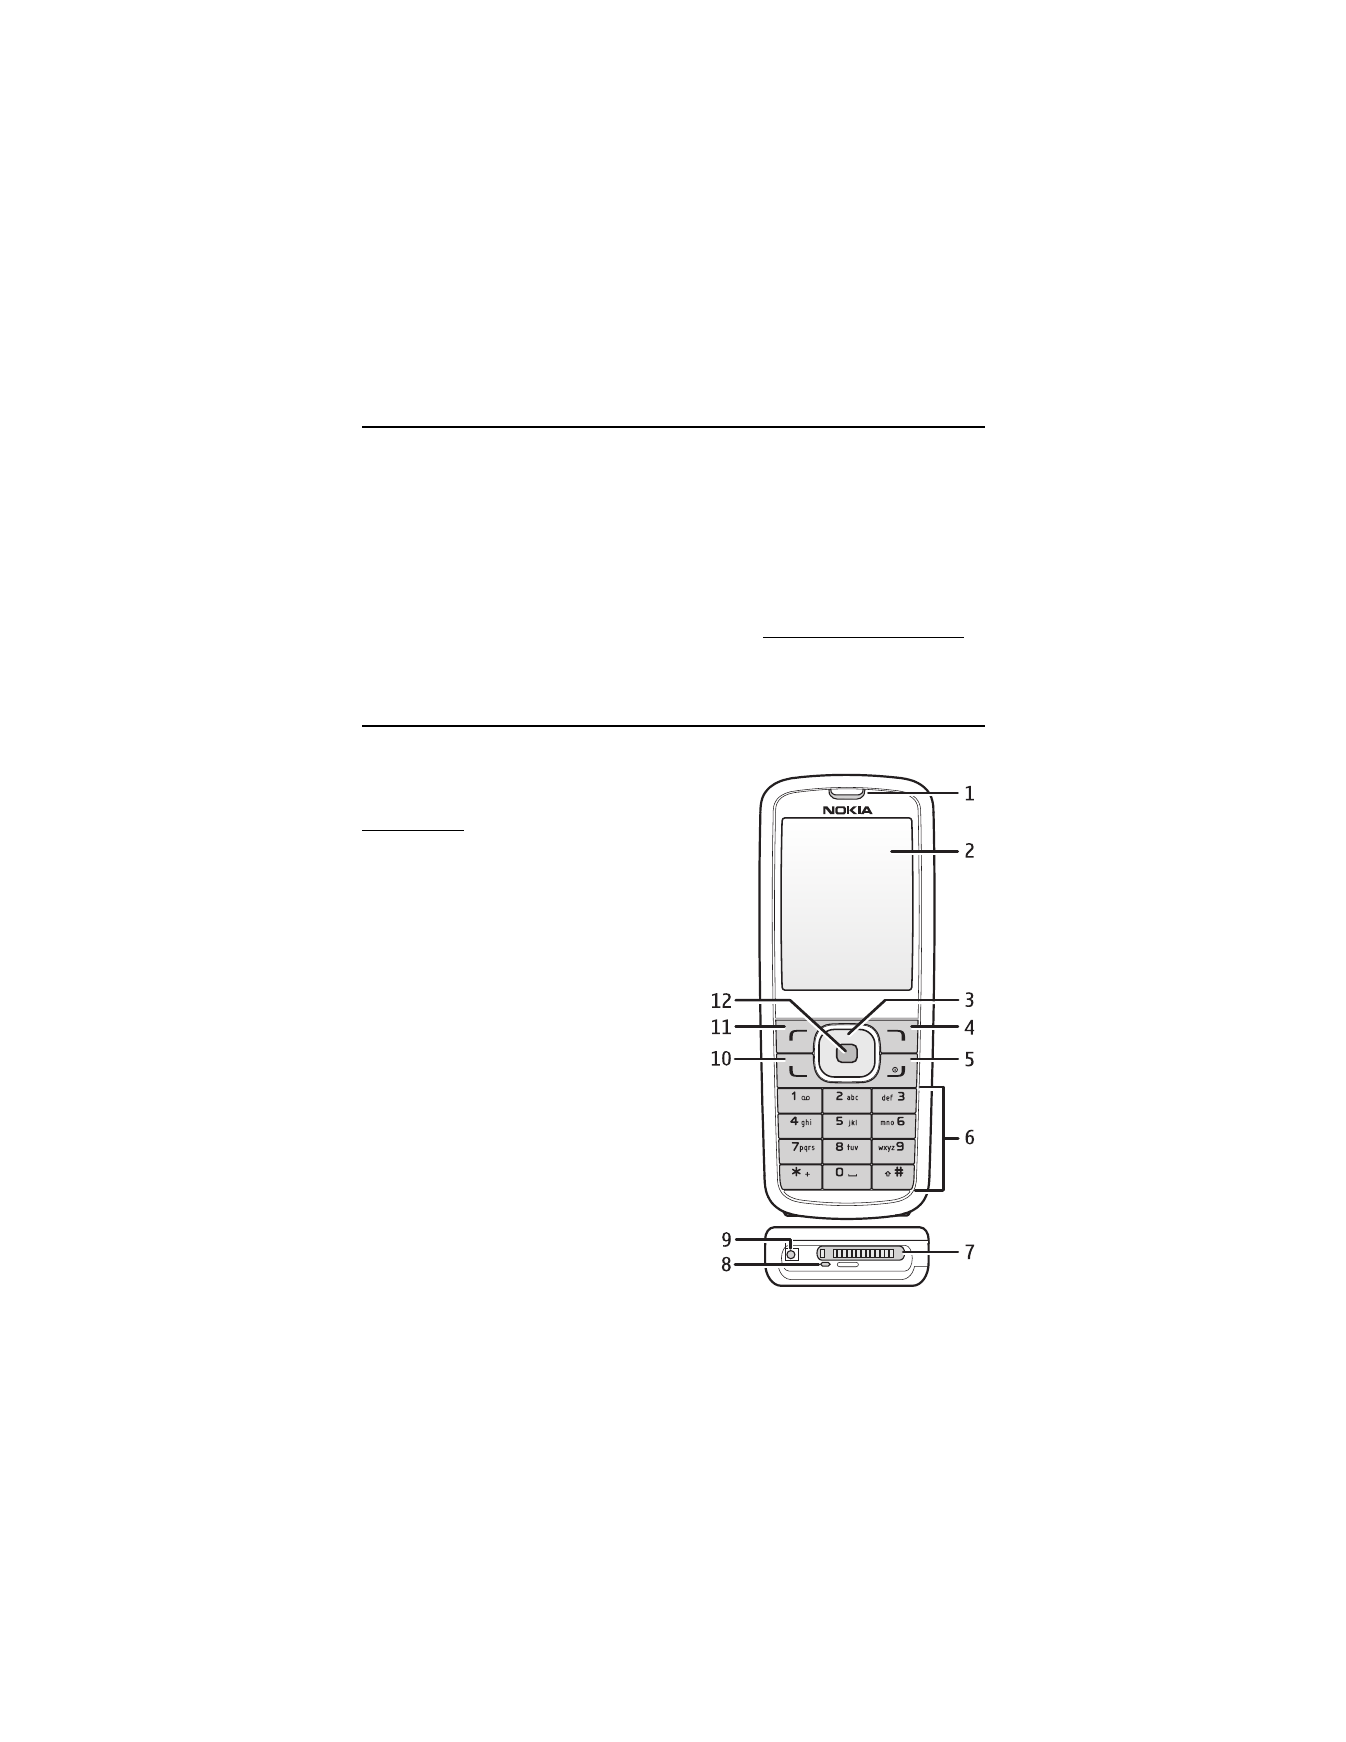
Front view
Earpiece (1)
Display (2)
Scroll key (3)
Right selection key (4)
End and power key (5)
Keypad (6)
Pop-Port™ connector (7)
Microphone (8)
Charger port (9)
Call key (10)
Left selection key (11)
Center selection key (12)
8
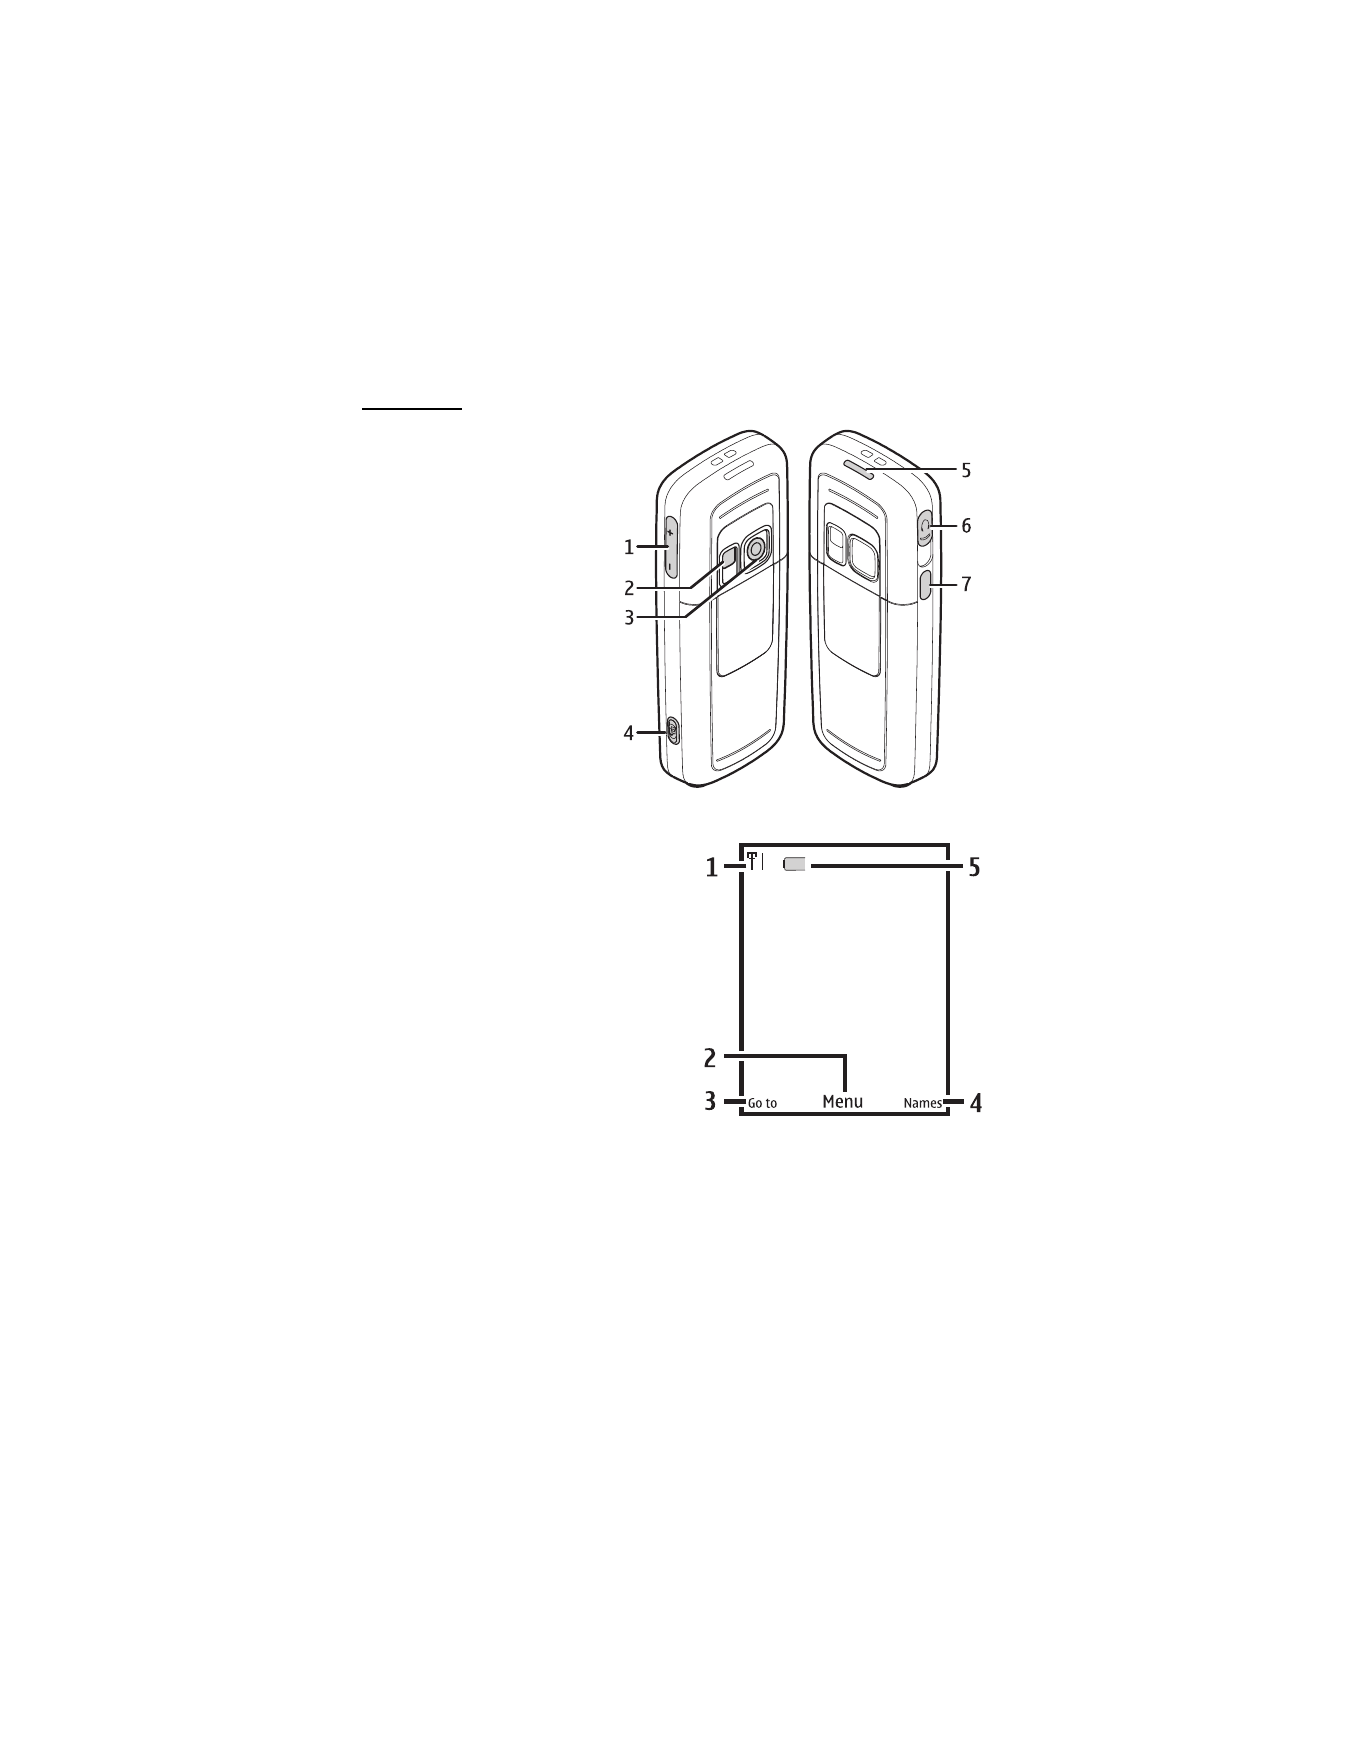
Side views
Volume key (1)
Camera flash and self-portrait
mirror (2)
Camera lens (3)
Camera key (4)
Loudspeaker (5)
Headset connector (6)
Infrared (7)
■
Standby mode
Depending on your wireless service provider
and the model number of your phone, some or
all of the following selection keys may appear
in the standby mode.
The standby mode indicates that your
phone is idle.
Signal strength (1)—More bars indicate a
stronger network signal.
Menu (2)—Press the center selection key to
select this option.
Go to (3)—Press the left selection key to select
this option.
Names or network operator menu (4)—
Press the right selection key to select this option.
Battery level (5)—A filled in battery indicates more power.
9
■
Quick keys
Depending on your wireless service provider and the model number of your phone, some or
all of the following scroll key shortcuts may be available in the standby mode.
In the standby mode, the four-way scroll and center selection keys instantly take you to
frequently-accessed menus:
Scroll up key—Go to the messaging menu.
Scroll right key—Go to the missed calls list.
Scroll down key—Go to the gallery.
Scroll left key—Go to the internet.
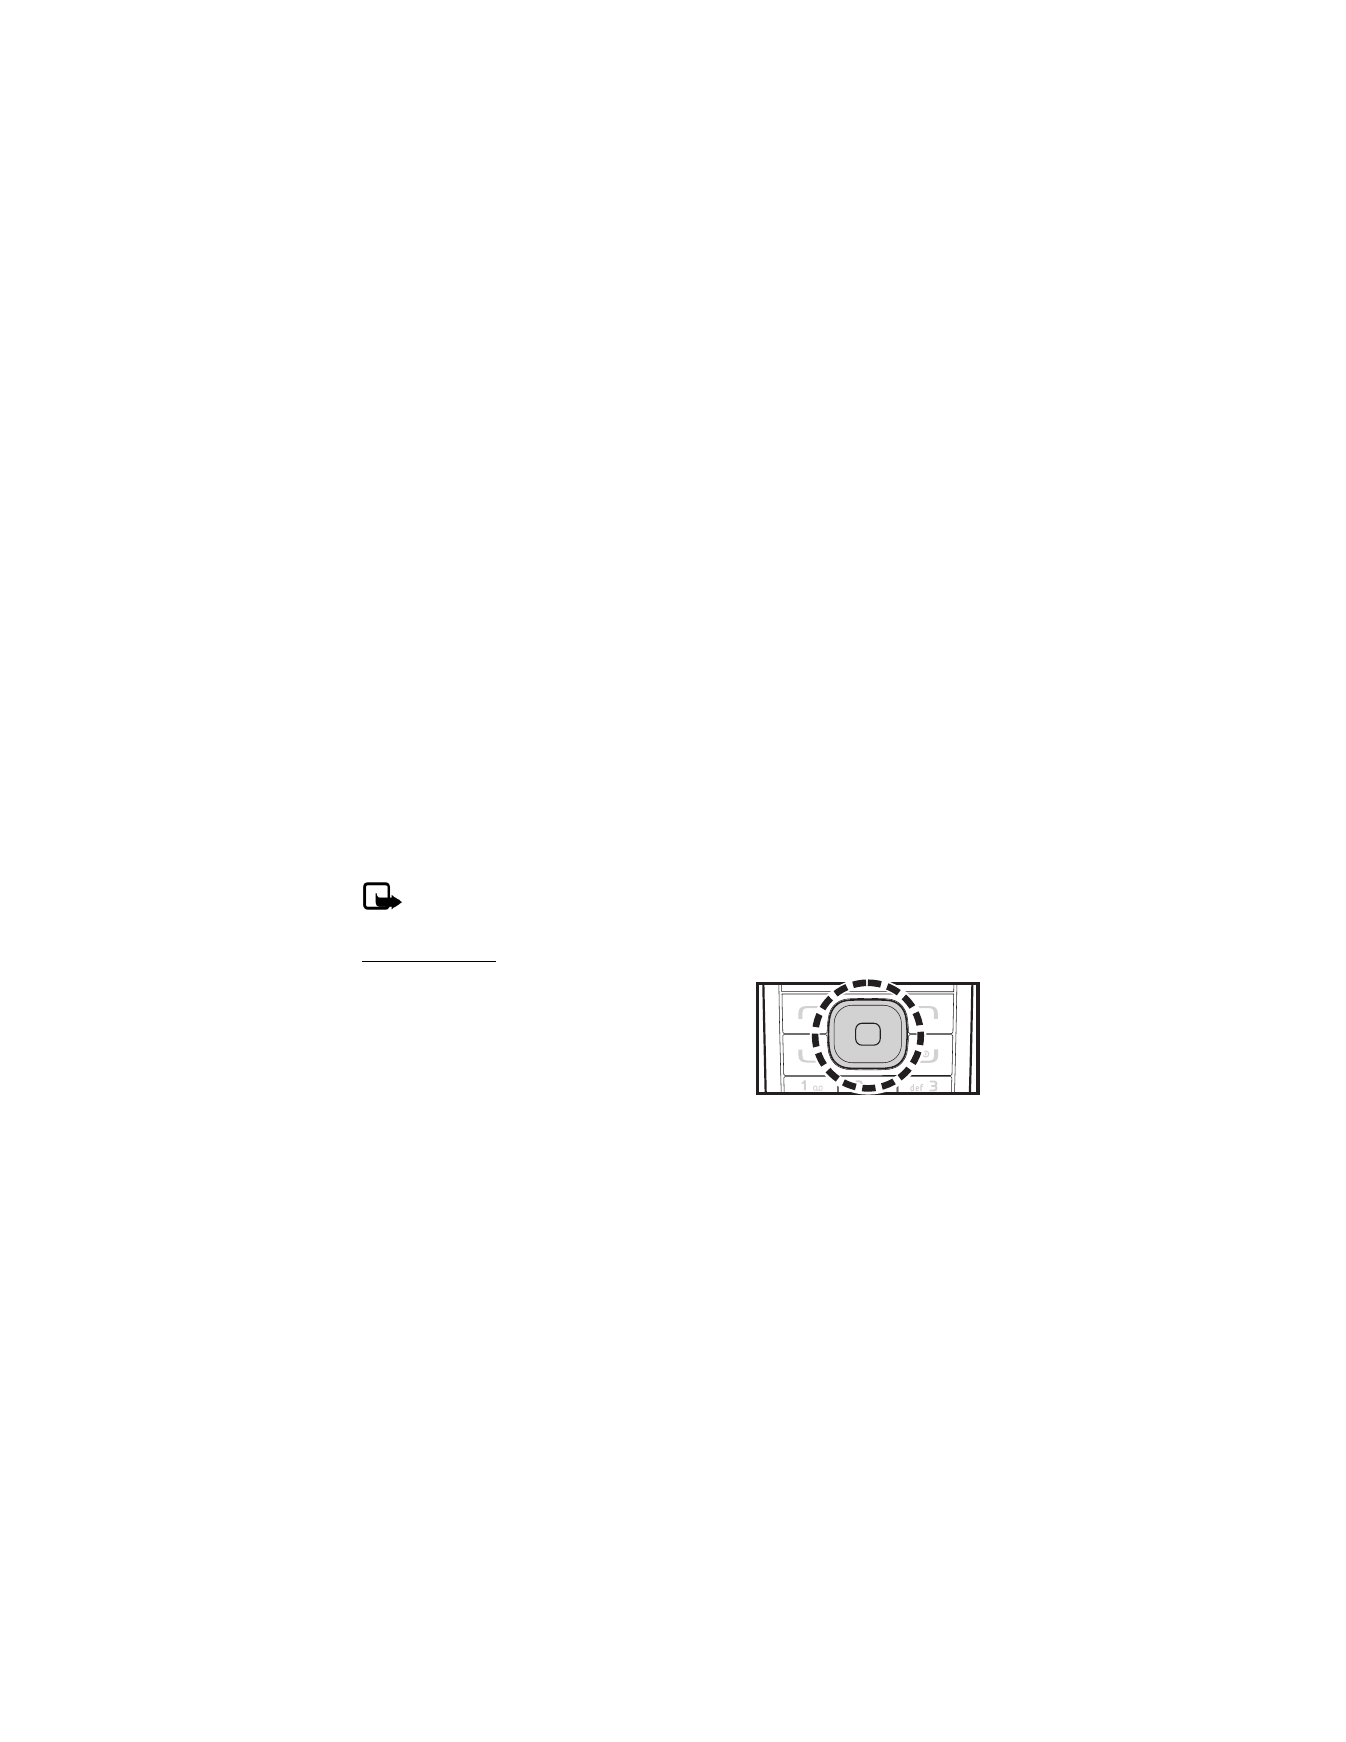
Center selection key—Display available applications or selects highlighted menus and submenus.
■
Indicators and icons
To view the icons on your phone, select Menu > Settings > Phone details > Icon details.
■
Phone menus
Phone features are grouped according to function and are accessed through the main
menus. Each main menu contains submenus and lists from which you can select or view
items and customize your phone features. You can access these menus and submenus by
using the scroll method or by using a shortcut.
Note: Some features may not be available, depending on your network. For more
information, contact your wireless provider.
Scroll method
1. To select Menu, use the center selection key. To
scroll through the main menu, use the scroll key.
On the right side of the screen, a scroll bar is
displayed with a tab that moves up or down
as you move through the menus. This provides a
visual representation of your current position in
the menu structure.
2. When you arrive at a menu, to enter submenus, press Select (the center selection key).
To return to the previous menu, select Back from the submenu level.
To return to the standby mode from any menu or submenu, press the end key.

10
Main menu display
You can control whether your phone menu is displayed as a List, Grid or Grid with labels. By
default, the main menu displays in Grid with labels format.
Select Menu > Options > Main menu view > List, Grid, or Grid with labels.
If supported by your wireless service provider, you can also change the order of menus in
your main menu.
Select Menu > Options > Organize. Scroll to a menu, and select Move. Use the scroll key to
move the menu to a new location, and select OK. You can repeat this procedure to customize
your main menu.
To save the changes, select Done > Yes.
In-device help
Many features have brief descriptions (help text) that can be viewed on the display. To view
these descriptions, scroll to a feature, and wait for about 15 seconds. Scroll down to view all
of the description, or select Back to exit.
In order to view the descriptions, you must activate help text. Select Menu > Settings >
Phone > Help text activation.
■
Go to functions
The Go to menu allows you to change the function of the left selection key on your phone so
that your most frequently used functions can be quickly accessed from the Go to menu in
the standby mode.
Select options
1. Select Go to > Options > Select options, and scroll to the options you want to add.
2. Select Mark to add an option or Unmark to remove an option.
3. When you have marked or unmarked the desired options, select Done; to save the changes,
select Yes.
4. Select Go toto display a list of the options that you selected in step 3.
Organize functions
Select Go to > Options > Organize. Scroll to an option, and select Move. Scroll to move the
option to a new location, and select OK. You can repeat this procedure to customize your
Go to menu.
To save the changes, select Done > Yes.
11